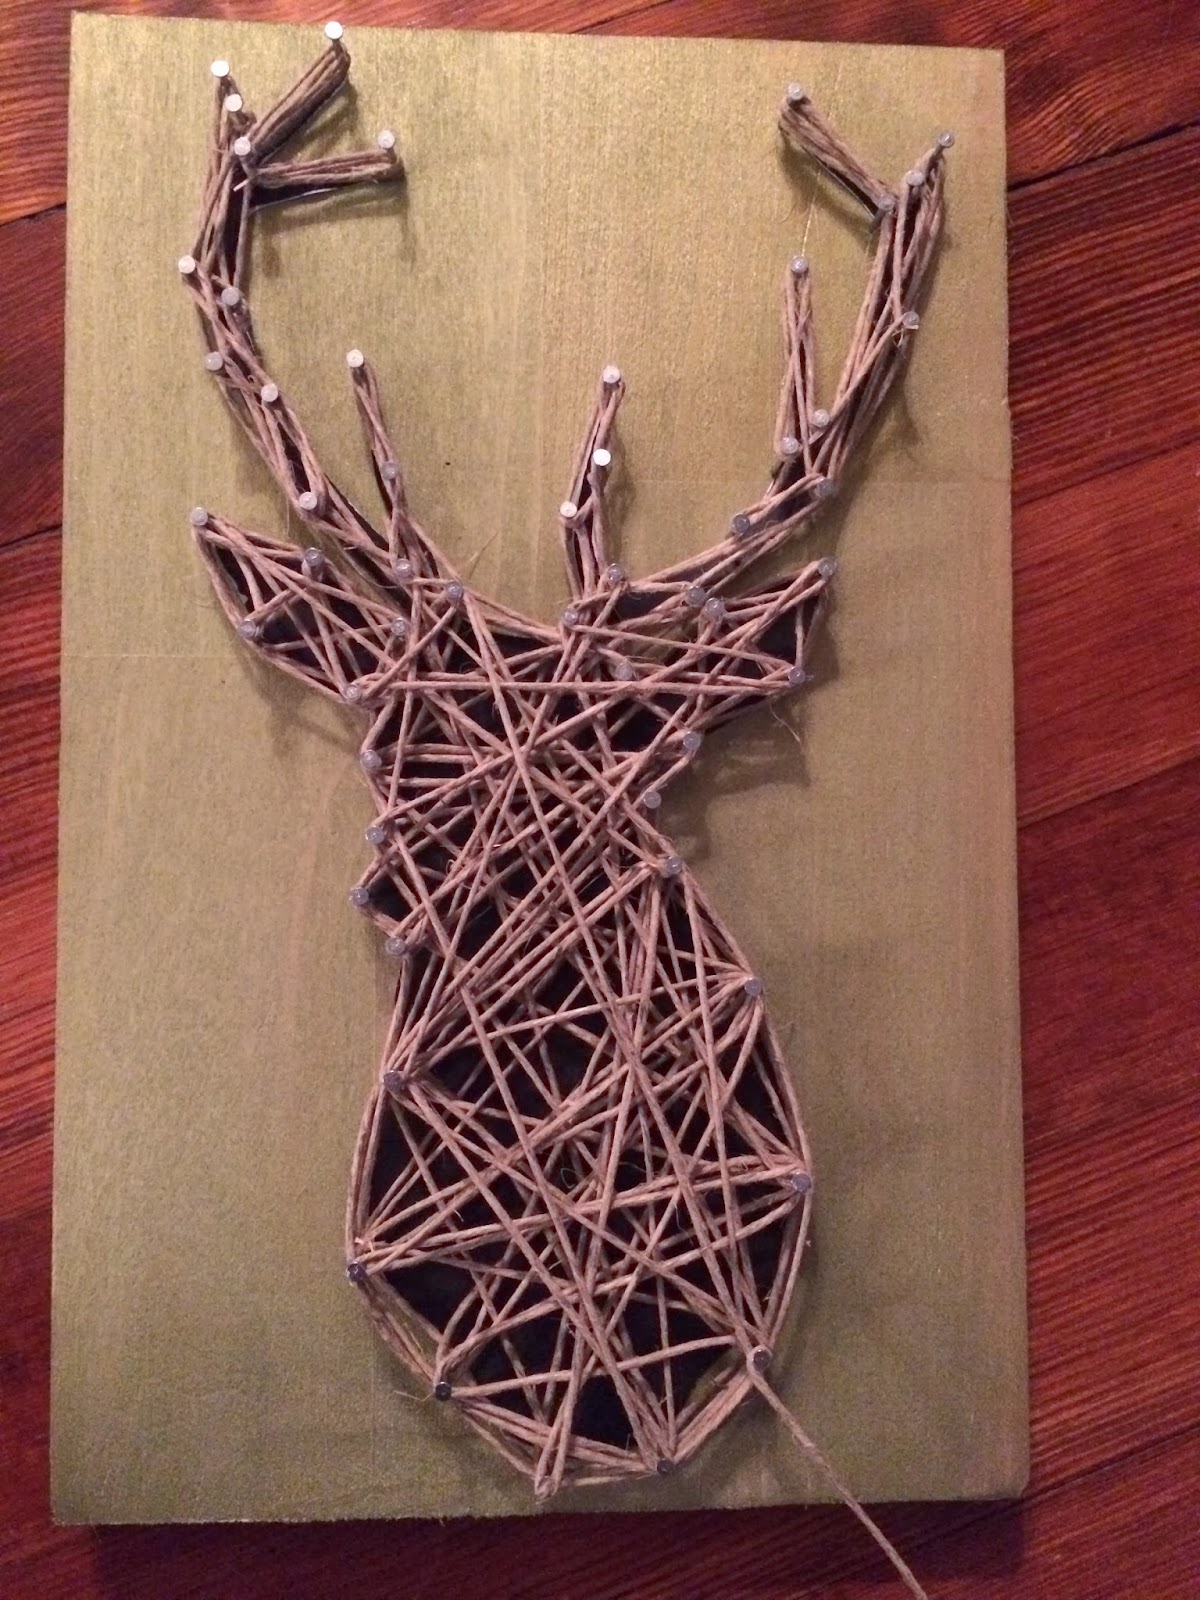
I have found tons of crafts and DIY projects on Pinterest that I am insanely excited to create. I don't usually follow a tutorial and I like to figure it out as I go along. Call it mad skills or pure luck but it always seems to turn out pretty well for me. This is one of those projects that I found an image of and just went with it. But, because I love you all so very much I decided to give you my own tutorial so you can DIY too!
These are the supplies I needed. Minus a picture of my paint brush (it's embarrassingly old and gross) and my scissors (if you aren't sure what scissors look like I would not suggest crafts). There are TONS of different images you could use. Google string art and you will see what I mean when I say TONS. I chose the deer because I decided that this was as close as I would get to one that was stuffed and hanging on my wall. The wood is a chunk cut off of a bigger piece from Lowes (extremely technical, I know). I didn't have Josh measure it before he cut it I just had him use the piece of paper with the deer and make it around that size, so mine it roughly the same size as an 8.5 x 11 piece of paper.
The messy pile of string is left over from my wedding save the dates and miscellaneous wedding projects. Many string projects I have seen use a natural shade of wood and color string. I decided to be a total rebel and use my leftover tan string and paint my wood a color. This paint doesn't have a color name but if I were to choose a name for it I would call it Glistening Sage. It is a muted green but because it is metallic it has a perfect little sparkle.
Because this is acrylic paint and I was honestly not sure how it would take to the wood, I just painted a light coat and then rubbed it in/off with a paper towel similar to how I would use a stain because I do still want to see the wood grain but I don't want it to be too matchy-matchy with my string.
After it was dry to the touch I cut out my deer head and used double stick tape to help it stay in place once I started hammering the nails.
I had no idea how many nails would be needed so I started with the points of the antlers and spots that I considered vital to maintaining the outline of the silhouette.
Then, I just went nail crazy! I wish I could say that I had a strategic plan as to how I would execute this but then I would be a big fat liar. I focused on making sure I didn't run out of nails :)
After getting all the nails in place I chose a nail towards the bottom to knot the string around and made the outline first. When looking back, this is the point where I probably should have removed the paper but I didn't and had to dig it out from under the strings with tweezers. With that being said, if you do this project don't wait to remove the paper until the end. It's not fun.
Once I had the outline, it was a matter of zigging and zagging and looping and twisting until I felt like it looked how I wanted it to. My string is thicker than what I imagine most people would use for a project like this but to my advantage, it covered more ground so I didn't have to do as much of the stringing.
This project would definitely fall under the easy category and I would totally recommend trying it. I would guess it took about an hour but I ate dinner in the middle so I can't be positive. I would also recommend painting or staining your wood at least a couple hours beforehand, I just got lucky having mine dry so fast. I hope this helps someone not have to admit to a Pinterest fail ;) Happy stringing!


No comments:
Post a Comment