Monday, March 31, 2014

Life Lately

Hi friends!

It is crazy to think that it has been over two weeks since my last post! Our life has been so exciting yet so busy lately. We haven't completed much around the house given the fact that we added a new addition to our little family. For those who do not follow my personal facebook page or my IG you have yet to meet our little pup.

Introducing... Opie. Also known as Ope, Opie Dope, Pups, Pupsicle, Wittle Baby and any other goofy nickname that comes to my mind. And for those who are wondering, yes, he is named Opie after the beloved character from Son's of Anarchy. We couldn't resist. :)


Opie is a chiweenie (hehe.. I can't help but giggle when I say that). This means that he is part Chihuahua and part Wiener dog. Although, he is 3/4 Wiener dog so that is more what I think of him as. He is the runt of the litter so even with his small dog roots, he will likely only grow to be 10 lbs. at the most. Josh and I are discovering that a puppy is a little more difficult than anticipated but, we have found such good information and even with using potty pads, he has been doing really well so we are hopeful that it will continue this way!


In other news.. I am beyond thrilled to share with you all a combination project I have been working on. The company I work for produces multiple newspapers and within our papers we have special sections. These special sections are annual or sometimes more often, supplements that are inserted into our daily or weekly papers. Well, I was presented  with the opportunity to write a article in our most recent Spring Home Improvement section. I, of course, was more than happy to oblige! We had just completed the main portion of our DIY Faux Fireplace, so it was the perfect timing to turn that project  into a story. I originally planned to use the project as a blog  post but by taking the opportunity I was able to have the project printed and available online! So, CLICK HERE to open the site my job uses to post our publications online and take a look! The whole section itself is a great production but if you're feeling antsy, my story is on pages 6 & 7 :)

Thank you all so, so much for all of your love and support! I appreciate it more than you know!


Thursday, March 13, 2014

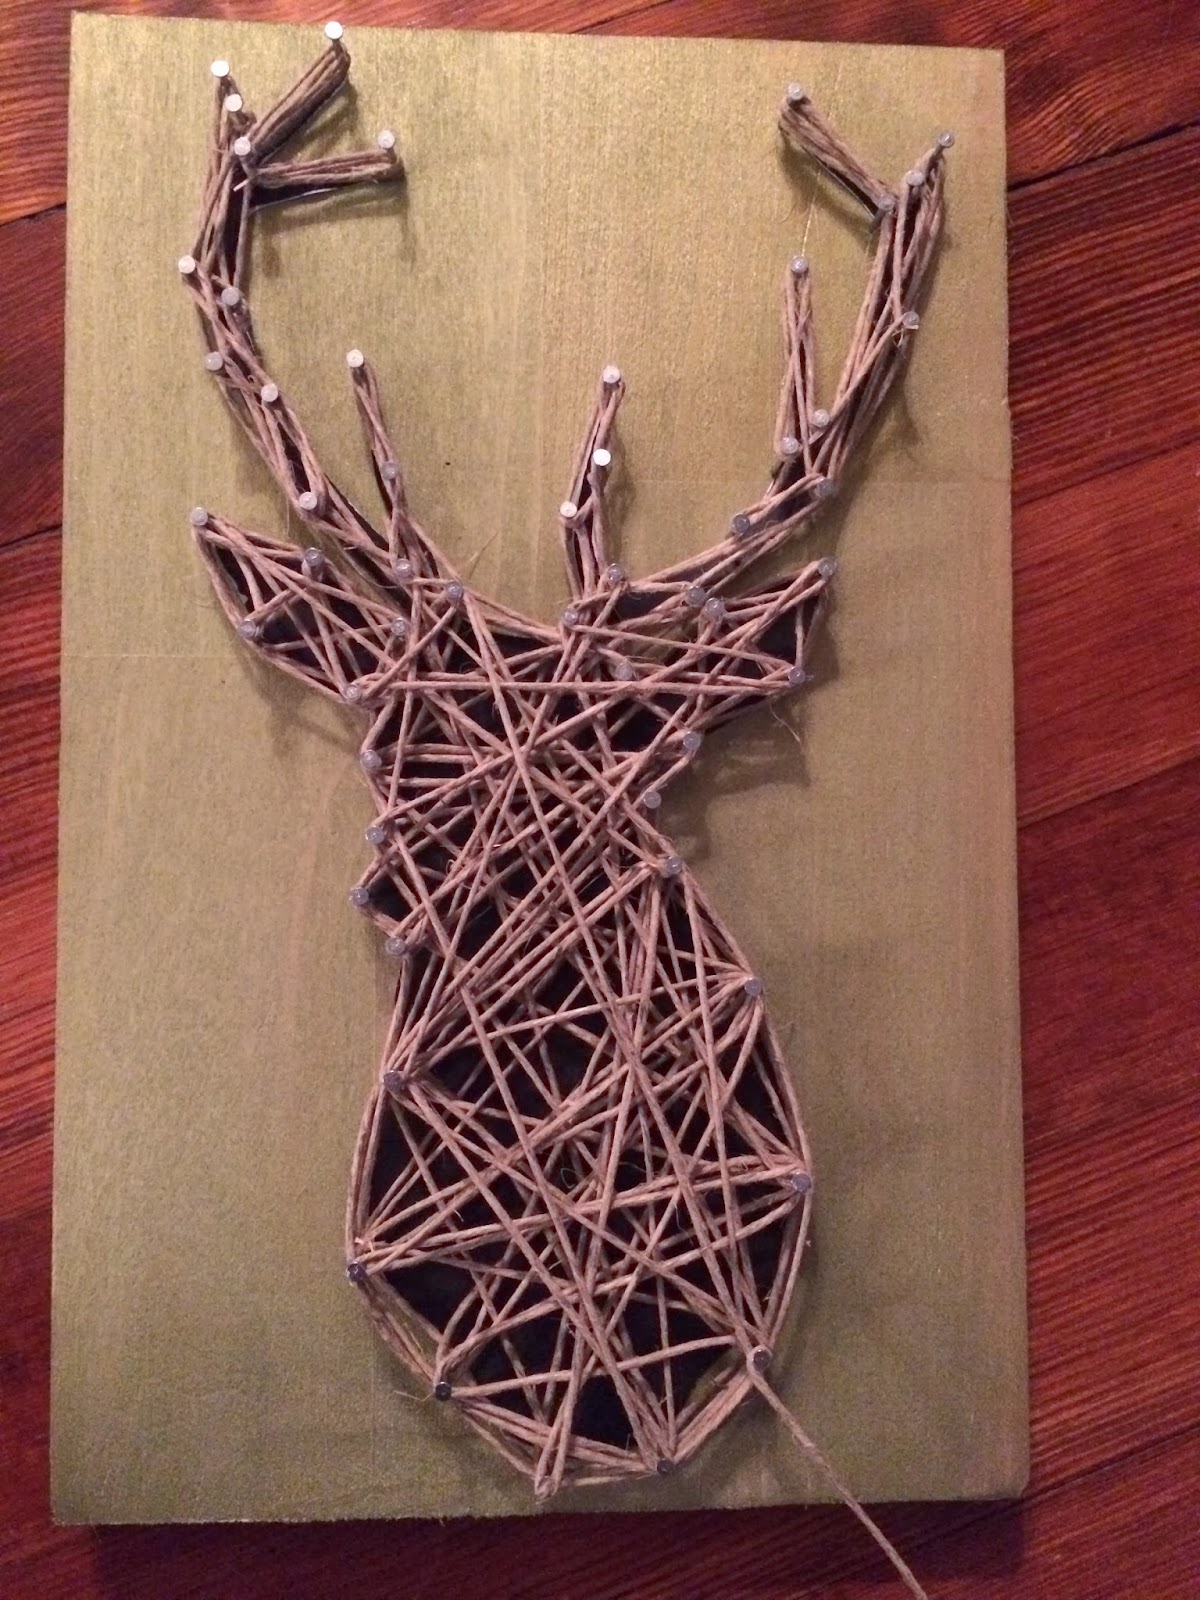
It's string art, my deer!


I have found tons of crafts and DIY projects on Pinterest that I am insanely excited to create. I don't usually follow a tutorial and I like to figure it out as I go along. Call it mad skills or pure luck but it always seems to turn out pretty well for me. This is one of those projects that I found an image of and just went with it. But, because I love you all so very much I decided to give you my own tutorial so you can DIY too!


These are the supplies I needed. Minus a picture of my paint brush (it's embarrassingly old and gross) and my scissors (if you aren't sure what scissors look like I would not suggest crafts). There are TONS of different images you could use. Google string art and you will see what I mean when I say TONS. I chose the deer because I decided that this was as close as I would get to one that was stuffed and hanging on my wall. The wood is a chunk cut off of a bigger piece from Lowes (extremely technical, I know). I didn't have Josh measure it before he cut it I just had him use the piece of paper with the deer and make it around that size, so mine it roughly the same size as an 8.5 x 11 piece of paper.


The messy pile of string is left over from my wedding save the dates and miscellaneous wedding projects. Many string projects I have seen use a natural shade of wood and color string. I decided to be a total rebel and use my leftover tan string and paint my wood a color. This paint doesn't have a color name but if I were to choose a name for it I would call it Glistening Sage. It is a muted green but because it is metallic it has a perfect little sparkle.


Because this is acrylic paint and I was honestly not sure how it would take to the wood,  I just painted a light coat and then rubbed it in/off with a paper towel similar to how I would use a stain because I do still want to see the wood grain but I don't want it to be too matchy-matchy with my string.


After it was dry to the touch I cut out my deer head and used double stick tape to help it stay in place once I started hammering the nails.


I had no idea how many nails would be needed so I started with the points of the antlers and spots that I considered vital to maintaining the outline of the silhouette.


Then, I just went nail crazy! I wish I could say that I had a strategic plan as to how I would execute this but then I would be a big fat liar. I focused on making sure I didn't run out of nails :)


After getting all the nails in place I chose a nail towards the bottom to knot the string around and made the outline first. When looking back, this is the point where I probably should have removed the paper but I didn't and had to dig it out from under the strings with tweezers. With that being said, if you do this project don't wait to remove the paper until the end. It's not fun.


Once I had the outline, it was a matter of zigging and zagging and looping and twisting until I felt like it looked how I wanted it to. My string is thicker than what I imagine most people would use for a project like this but to my advantage, it covered more ground so I didn't have to do as much of the stringing.


This project would definitely fall under the easy category and I would totally recommend trying it. I would guess it took about an hour but I ate dinner in the middle so I can't be positive. I would also recommend painting or staining your wood at least a couple hours beforehand, I just got lucky having mine dry so fast. I hope this helps someone not have to admit to a Pinterest fail ;) Happy stringing!


Tuesday, March 11, 2014

The Blogmopolitan Quiz!

If any of you are anything like me, whether you have a subscription or just browse while in the checkout lane, you can't help but have a small place in your dirty little heart for Cosmo. I know it can be a bit of an interesting encounter with Cosmo especially given the raunchy headlines, but it really is an addicting magazine that so many girls have obsessed over at one time or another. So, when I stumbled across Erin and her blogger version of the celebrity quiz I couldn't wait to link up! Make sure you check out her adorable blog as well as the many other ladies who have linked up.


Sunday, March 9, 2014

Progress!

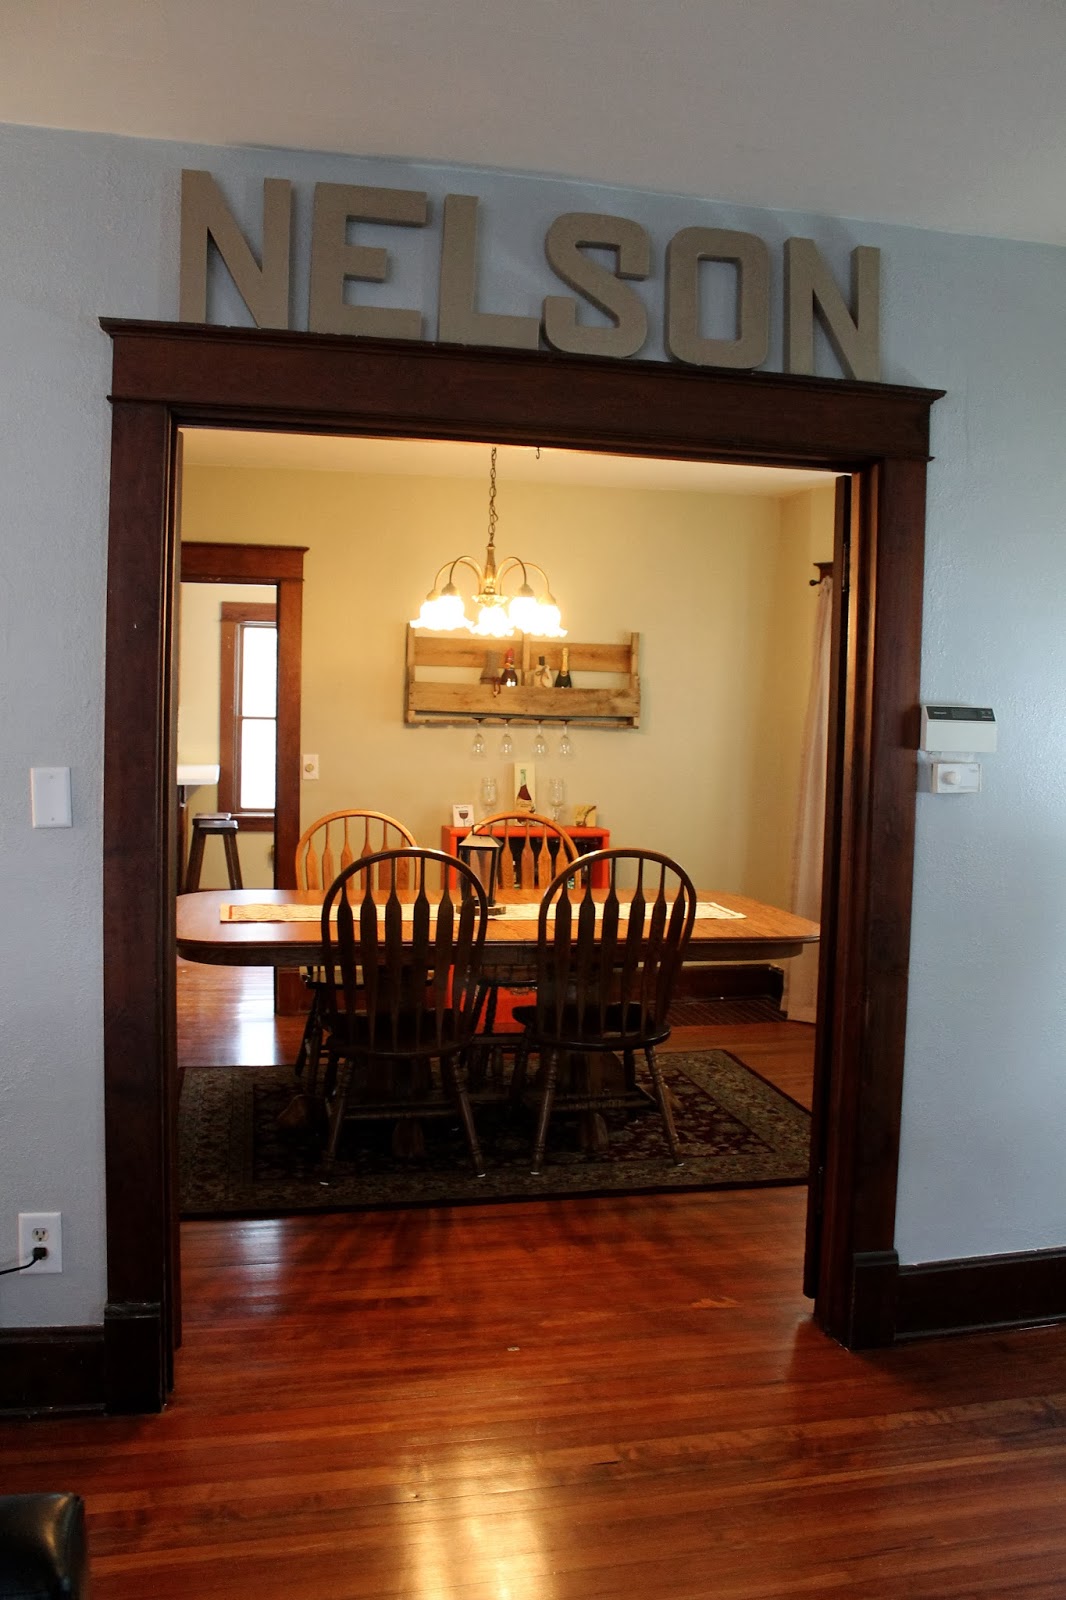
It is a little crazy to think that we haven't even been living in the new house for 2 months! Some days I feel like I haven't accomplished anything in comparison to what I want to have done, and other days I can't believe I have gotten so much done in such a short amount of time! We definitely still have a few major projects and a couple small ones left before we are totally satisfied with the interior of the house. For now here is the progress we have made!


Once you've checked out the progress go look under my House Tours tab to see the side-by-side changes!


Wednesday, March 5, 2014

DIY Decorative Towels

I have to start by saying that even though February is a shorter month, I still cannot believe how fast it actually went by. It feels like it was here and gone in a matter of seconds!

I had so many more ideas but things have not gone quite as planned. Learning how to manage work, house projects, friends, time with Josh and everything else all while trying to turn this blog into what I want it to has been very challenging. It also doesn't help to have mother nature going through her mid-life crisis and causing snow, upon cold, upon snow. These frigid temperatures keep me planted on my couch way more than I like to admit and I am ready for it to be done! This weather sucks the life and energy out of me! But, I will trudge on and do like the rest of the Midwest and keep praying for warmth!

This past weekend I did a project that I decided on a whim and was really pleased with the results! Our upstairs bathroom does not need much in the way of decor but I did decide I needed a curtain and some decorative towels. The window in the bathroom lets in great amounts of natural light so I only made a half curtain to keep some light while still preventing creeps from peeping in the window. The couple we bought the house from did a great job with the design of the bathroom and I have always planned on keeping the baby-blue/black & white theme. So, I picked out a damask/floral style pattern for the curtains and I decided to use leftover scraps to spruce up the towels I got!


Here is what I used to make these towels. I got a yard of fabric and only used about a foot and a half to make my curtain, used what I needed for the towels, and I still have fabric left.Win, win!
I bought 2 black standard bath towels,  two white hand towels and one black hand towel.


The first thing I did was decide what size I wanted the strips, then measured and cut them. I made the strips for the standard towels 2 inches and the strips for the small hand towels 1 inch.


Once I got all of my strips cut I used an iron to fold over the edges so that once I sewed them onto the towels there would be no frayed edges. Because even though these are DIY I wanted them to look like they could have been store bought.


After I got the edges fold and ironed, I had to pin the strips onto the towel to be sewn. 


Sewing the strips onto the towels was the most difficult part, as expected. The folds were very thin and kept coming undone but even as an amateur sewer (I cannot even refer to myself as a seamstress) I was able to get them sewn and they turned out really good!


Once they were done I was so anxious to get them hung! Our bathroom has two towel bars on either side of the bathtub and part of me wanted to replace them with shelves but I am glad I decided not to because I love the new towels! I feel like I turned the towels from just an asset in the bathroom to decor with minimal effort.


Now, I just need to get my little black chandelier to hang and this bathroom will be just about perfect!
We have so many projects still to do and I am doing my best to keep track of them to share. 
Keep an eye out for progress pictures this weekend!